


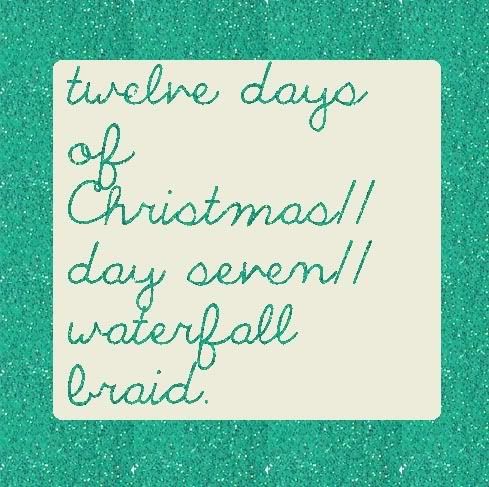
I think this is one of the loveliest and easiest braids. It is a perfect style for a relaxed festive event, paired with simple tailored clothes and some dramatic pendant earrings. This tutorial is shown in dark hair but for all those blondies out there this is a great way to show off highlights.
The steps may be a little confusing but I have tried to make it as simple as possible and once you get the hang of it it is easier than regular braids. You really only need a comb and either some bobby bins or a hair elastic to secure it (plus nimble fingers!)

- This braid starts at one side at the top of your part line, and ends on the other side lower down. To begin you will need to section out a piece of hair about an inch from your part. The thickness of this section will determine the thickness of the braid itself.
- Divide this piece into 2 equal parts, with one coming from above the other.
- Take the two pieces and twist once whilst keeping them separate. You will then take a piece of hair from above the twist and place it between the two 'arms' of your braid. This piece just falls down into the rest of your hair. Twist the two original pieces again then take another piece from above and repeat.
- Your braid should start to resemble the fourth image above.
- Keep going, remembering that the original pieces are what you should be twisting and to slope the braid down. When you get to the end secure with a clear elastic or some pins.
Sit back and enjoy your handy work then head out and show it off to the world. If you feel it needs fancying up a little some little flowers or a woven in ribbon would do the trick.
In other news.
I had a visit to the hair dressers today to get the first stage of ombre' hair. I am so very happy with how it turned out and I hope you enjoy the pics below. I will be posting next week about my experiences with heading to blonde town, but until then...


Adieu x

Pretty :)
ReplyDeleteSimple, yet so chic!
ReplyDeletehttp://www.stylishshenanigans.com/
@Lydia
ReplyDeleteThanks Lydia! x
@Aimee Katherine
ReplyDeleteThanks Aimee Katherine...nice to see you made another visit :)
very pretty! and cute blog, look forward to seeing more x
ReplyDelete@katrina - dot dot dash
ReplyDeleteThanks so much Katrina for your lovely words!
x