


I promise more outfit photos and other little goodies very soon (I have a package on it's way with some new clothes!) but until then I hope this tutorial satisfied your need for pretty things.
Like I said, I am going through the things that I never learned, so I am really no expert, but I hope I can give you some ideas for using this intimidating program with all its many bells and whistles. So let's get into it with a quick look at the Pen Tool and Clipping Masks.
T H E P E N T O O L
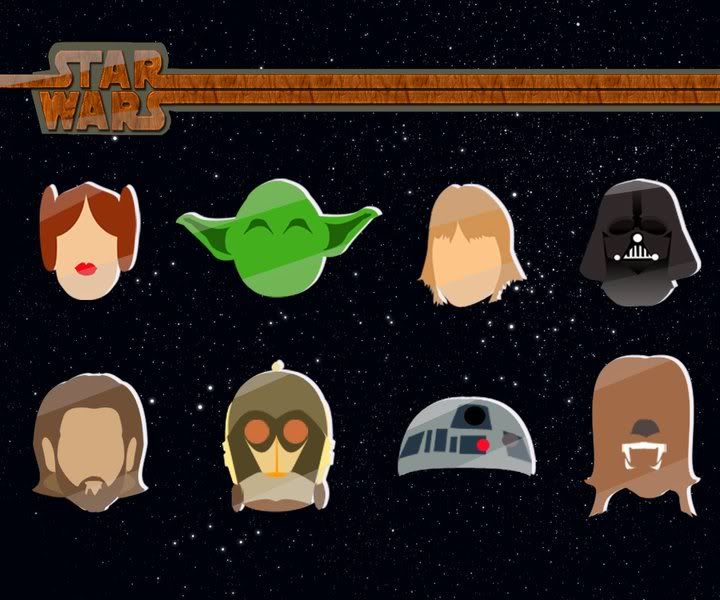
I don't want to scare you off to much with yucky jargon, but there are differences in the kinds of images we might see used in graphic design. Some of these differences are in the file type, some are more basic than that. For the sake of simplicity, let't agree that most JPEG images are BITMAP images, meaning that they are like a map of 'bits' of colour that make up an image. Most digital photos are bitmap images as they let you have loads of colours and loads of detail. The other type of images are vector images; these can be saved in many file types but popular ones are PNG or GIF. Vector graphics are, simply put, a set of mathematical formulas (eww) that tell the computer what shape and colour an image should be. The great thing about vector graphics is that you can view them at any size and the quality shouldn't change; ever noticed that when you make a Jpeg bigger it goes all grainy? That wouldn't happen with a vector. You can't use vectors for everything, but they can be super handy. Most graphic designers would use Adobe Illustrator to work with vectors, but Photoshop does have some similar tools. I use illustrator for big projects like my daggy star wars project for uni below. I used Illustrator to create the graphics, then manipulated them in Photoshop. So what does this have to do with the pen tool? Well the nifty little pen tool lets us make vector images in Photoshop.
My tips for using the Pen Tool
- There are 5 tools associated with the Pen Tool: The pen tool, the freeform pen tool, add anchor point, delete anchor point, convert point tool. They are all very useful in their own ways.
- When you use the pen tool and click on an image it creates a little 'anchor point'. I like to imagine that I am sticking push pins in a cork board and then winding thread between them; the push pins are like anchor points, the thread is like the path that is created between the anchor points.
- The freeform pen tool allows to free hand drawing without using anchor points- you can go in an add points after to alter the path
- The convert point tool allows you to click on the anchor points and convert them to curved lines rather than angles.
- The path created with the pen tool is called a work path. It is only that, a path along which you can tell Photoshop to put colour etc. You will see what I mean in the screencast below.
- As you will see in the tutorial, the pen tool is great for getting the outline of another image to sort of 'steal' the shape.
- Before selecting 'fill path' or 'stroke path' make sure your colours are set to the ones you want and that your brush tool has the correct setting (The next tutorial will be about painting in photoshop and the brush tool)
C L I P P I N G M A S K S
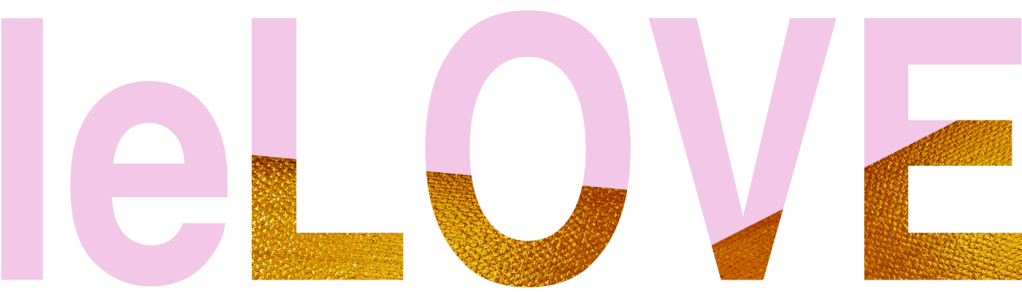
I still find it tricky to get my head around how clipping masks actually work, but they just do. I guess when you add a clipping mask to a top layer, it 'clips' the excess of that layer and only shows the parts of that image that align with whatever is on the layer below, usually text. You can create some super amazing images with this little function and I use it a lot. I don't have any tips for using it really, other than to say that your layer order is really important as you will see in the tutorial.
Putting it into practice:
I bet you have seen loads of these kinds of images around, but I still love them despite their popularity. I hope you like them too, otherwise you might be bored. It has been one of those weeks where things have kept going a bit wrong, so I filmed this video without enabling the mic so there was no sound! Then I filmed it over and about a minute before I was finished someone walked into my room so if I sound distracted, that's why! Also the image below is from the first video so the one in the tutorial is slightly different. I got the flower image from this Pintrest Board.
xx Samantha Alice

Hi,
ReplyDeleteThanks for the excellent contribution to the discussion........
Graphic Design
I am actually in need for this particular info. Good thing I had the chance to visit this blog, you really made this blog a good source of learning. I'll be checking out for more updates. thanks a lot and a job well done for you!
ReplyDeleteAaw, that's me! Haha that was a nice surprise. Glad I helped!
ReplyDeleteYour Photoshop tutorials are so helpful. I actually have a graphic design A level but our course was awful. The tutors literally said "This is how you access Photoshop. Now experiment with it" and that was the extent of our training. So, despite the qualification, I am pretty much self taught so it's always nice to learn new things :)
Becky
xx
http://www.beckybedbug.com
I feel the same way Becky! Graphics is one my my majors at uni and one of my teaching specialisations but I haven't been taught much at all! Glad you find them helpful!
Deletex